Retro computing to electronics
August 03, 2019, at 08:14 AM (3 comments)
Title: Retro computing to electronics Author: mgarcia Date: 2019-08-03 16:14 +1000 Tags: 2019, Industry, Friends, Misc, Pics, GameDev, Blog, Electronics Comments: Open
Retro computing to electronics
My youtube playlist of videos which have been helpful:
My C64 playlist.
My Atari ST/midi playlist.
My electronic noob playlist.
I recently bought a Commodore C64c (with dataset, power supply and 2 joysticks) and a Atari 520STFM (with some random floppies) both untested and rattling!
Together it was all only $80AUD (reduced from $120), in the most unlikely Op shop (one of the places I check out for used DVD's), these guys wouldn't know how to use a modern PC!
Well, they said I could return it if it didn't work, so why not.
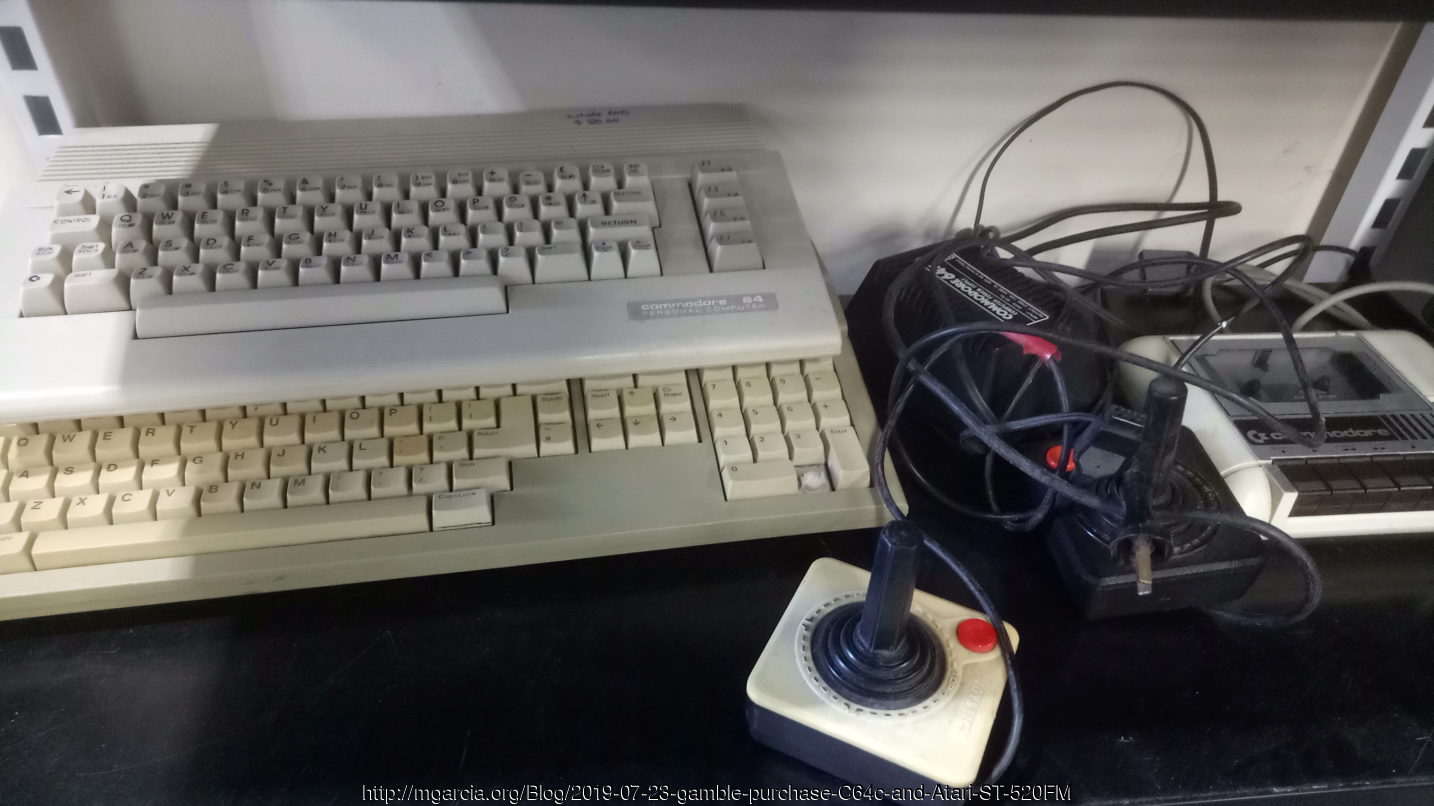
Commodore C64c
I got it home, opened it up and expected the worse! It actually wasn't that bad, this C64c has many chips socketed and the capacitors looked good (not leaking or swollen), in fact apart from the loose screw, it looked well maintained. So, I turned it on and the blue screen came on but without any text or sometimes random text, well that's how I got back into commodore 64 :D
The power supply with C64's are literally C64 killers! It's common for them over time to output more then the 5v required, the extra voltage will make the 5v chips over heat and will eventually kill them, which is what happened to this one! So first thing first, I built a DIY new power supply, following these videos.
Commodore 64 DIY Cheap & Sexy Power Supply PSU
Building a DIY C64 Power Supply (The Lazy Way)
The RAM chips needed replacing and the MOS 6526 CIA #1 chip is on the way out (port 1 issues), something to do later, but for now it works.
The datasette tape player also worked well, I didn't have any tapes or a tape player (at the time). I use an old android mobile and a app called tapdancer (it converts t64 files to audio and it's built for this) and with a CD tape adapter (a fake tape with a headphone cable coming out of it- purchased from my local auto parts store) and it all worked very well.
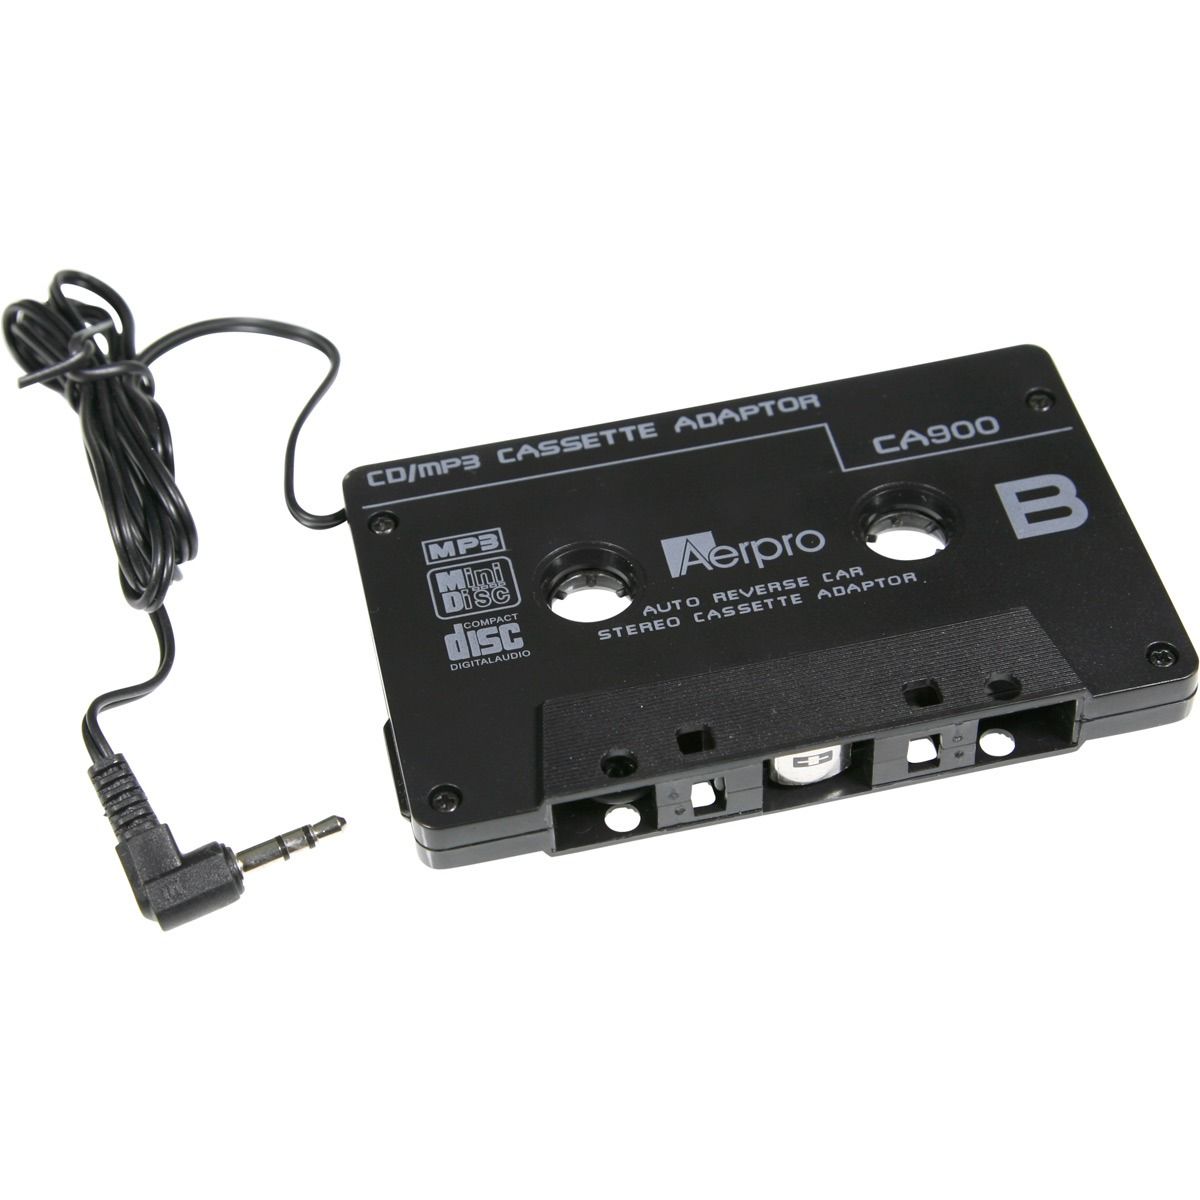
This is the one I bought from Super Cheap Auto (Australia)
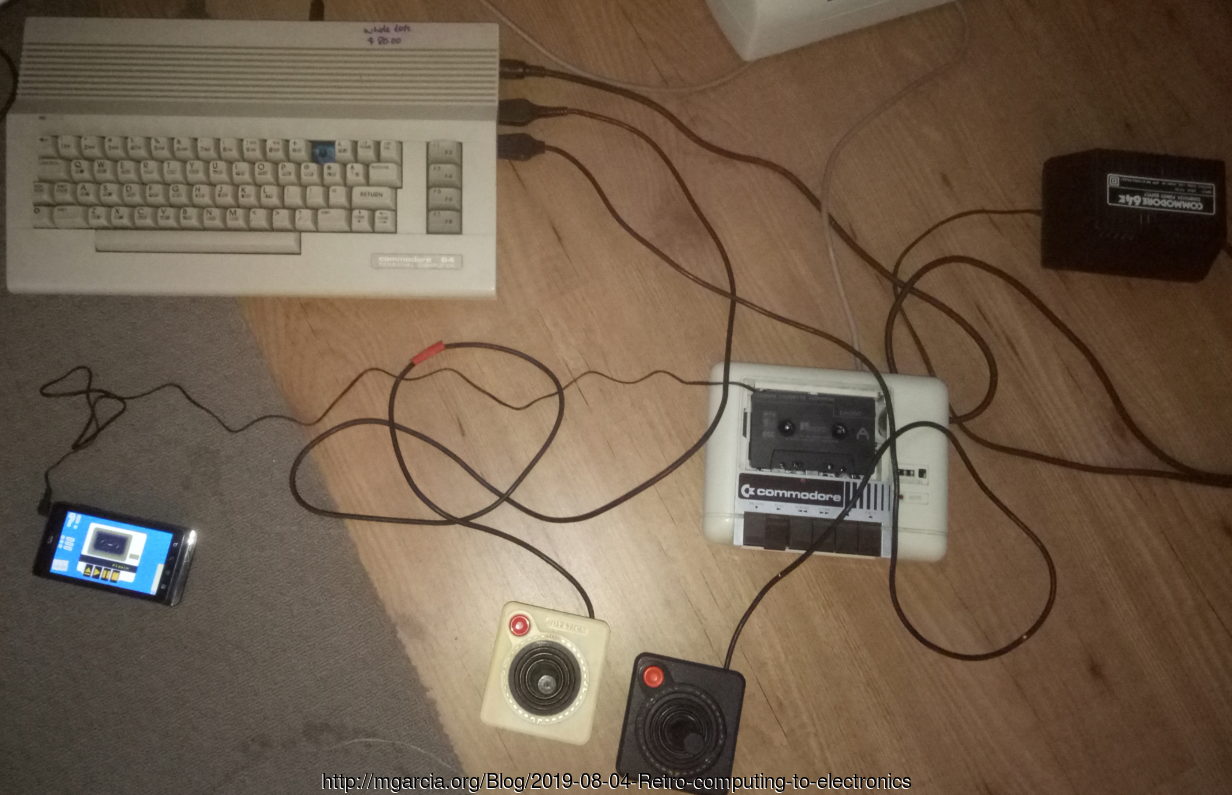
Click to view original image: 856kb
The chips are pretty expensive by themselves, I'm considering buying a C64c as a donor, but these are also getting expensive now. Our TV has an analog tuner, so RF works but it's pretty bad, so that's another project, either S-Video or RCA. I'm also trying to make a DIY C64 diagnostic cartridge.
To be honest I've had retro destruction guilt, one of the things I took apart in my teens was a working C64c, I wanted to remove the boards and failed, I put it back together again working, but I think it ended up in the trash.
A Commodore 64 alternative
The C64 is still a great piece of hardware, the expansion port has direct access to the CPU, basic is relatively simple to program and there is so much documentation and software available, most of it free, The Commodore 64 was really the gaming, computing and the Raspberry Pi's of the 80's!
A modern alternative would be the C64 Mini's but unfortunately they don't interface with the ports. While at my local electronic store, I was suggested the maximite computer, which is next best thing, would be any micro-controller board with http://mmbasic.com/. There's different ways of using MM Basic, from windows to many different forms of hardware all accessible via a serial terminal.
Directly via a computer setup (which includes all 20 I/O pins) called Maximite.
The Color Maximite BASIC Computer and Microcontroller
As a tangent, the Maximite's MM Basic successor is the newer Micromite Plus, 64 and 100, designed to piggyback onto touch screen LCD screens.
Introduction to the Micromite Plus
Continuing with the maximite and MM Basic, next is the Minimite which is an embedded and compact versions of the Monochrome Maximite, this is not the colour maximite but still very similar.
And lastly, MM Basic runs on a single PIC32 chip, which makes it really impressive for controller!
https://www.youtube.com/watch?v=V-Ym758Unmw
Although it's still new to me, I can see the benefits of developing in basic, compared to the typical compile and flashed process. There's a small community, it's not made for games or applications but would make a great learning, hobby or industrial interface.
Atari 520STFM
The Atari 520STFM, had the floppy mechanism loose, I cleaned it a bit and turned it on, and it worked!
The floppy also functionally worked, but it couldn't load any of the random disk it came with.
It wasn't a big deal because most of these are being replaced with a gotek USB replacement and it was pretty easy to do.
Preparing the Gotek Floppy Emulator for the Atari ST
On my TODO list is this gotek mod, eventually install the screen and rotary selector on the top of the case (with long wires to make opening easier) and move the controller(mouse) port to side where the floppy was!
I would like to upgrade the 512KB RAM to 1MB or 4MB one day and turn it into a midi beast!
Two great retro computers, too little time :'(
Getting into electronics
In my pacing blog post I mentioned André LaMothe's electrical course on udemy. I bought it mostly to show support as I really like his writing and also wanted contact with him. I had an interest in electronics since a young age, taking broken (or old) things apart and putting them back together again for fun (not necessarily working though!).
Admittedly, I had his lectures in the background while doing other things (gamedev or web admin stuff), but now that I own these two historical micro computers what a better way to get serious about electronics!
To be honest, I struggled with the basics, so I looked for beginner kits and bought these two for 80AUD delivered:
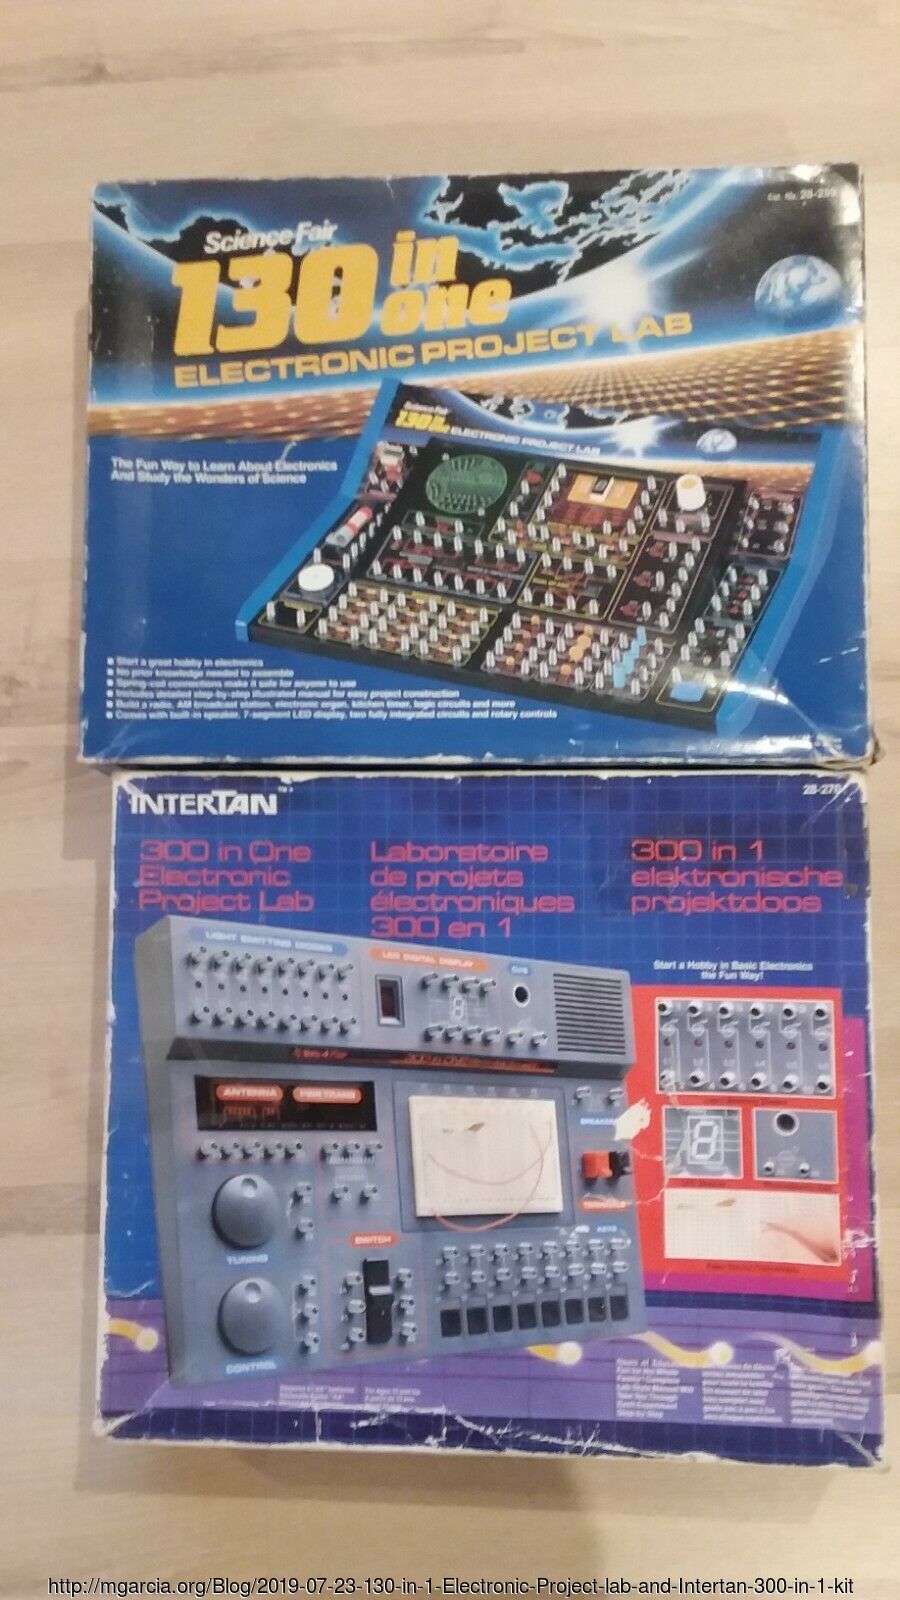
While I was waiting for that to arrive, I noticed a local ad selling this one, which retails in the shops for 300AUD, and only going for 50AUD, so I had to get it.
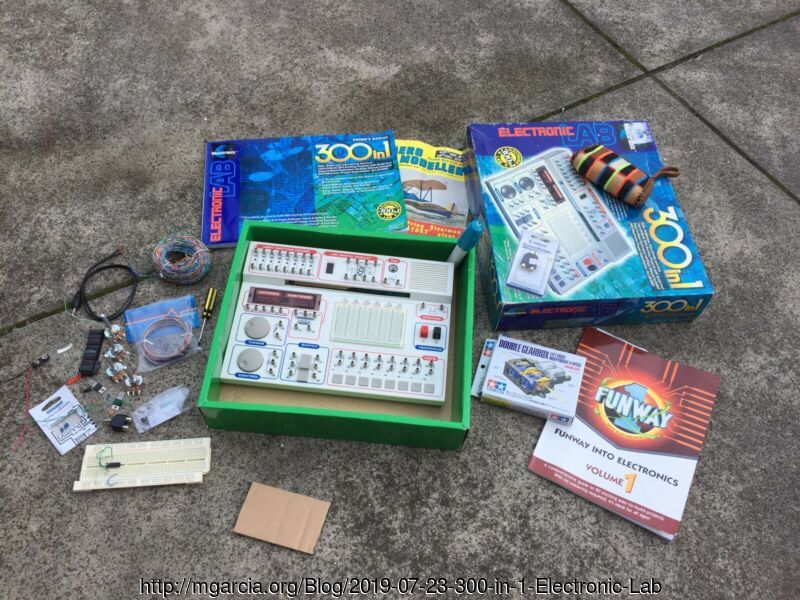
If you look closely (which I didn't) the "300 in 1" above is the exactly the same, just different molding colours, oh well. :D
I recommend the simpler and cheaper "130 in 1", although it doesn't go into details what the circuits do (obviously, a electronic engineering is a 4 year bachelor degree), the setup (resistor, diode, transistors, caps etc) is very practical as a simple and clean breadboard, and makes testing resistance(ohms) volts(watts) and currents (amps) a lot easier!
My electronic cheat sheet
An Introduction to Simple Electric Circuits (3rd Edition)
Metric table
Prefix 	Symbol 	Multiplier 	Exponential
yotta 	Y 	1,000,000,000,000,000,000,000,000 	1024
zetta 	Z 	1,000,000,000,000,000,000,000 	1021
exa 	E 	1,000,000,000,000,000,000 	1018
peta 	P 	1,000,000,000,000,000 	1015
tera 	T 	1,000,000,000,000 	1012
giga 	G 	1,000,000,000 	109
mega 	M 	1,000,000 	106
kilo 	k 	1,000 	103
hecto 	h 	100 	102
deca 	da 	10 	101
  	1 	100
deci 	d 	0.1 	10¯1
centi 	c 	0.01 	10¯2
milli 	m 	0.001 	10¯3
micro 	µ 	0.000001 	10¯6
nano 	n 	0.000000001 	10¯9
pico 	p 	0.000000000001 	10¯12
femto 	f 	0.000000000000001 	10¯15
atto 	a 	0.000000000000000001 	10¯18
zepto 	z 	0.000000000000000000001 	10¯21
yocto 	y 	0.000000000000000000000001 	10¯24


3 comments on "Retro computing to electronics"
Yes, definitely open and clean and then research old electronics before turning anything on!
As a programmer learning electronics for the first time, I would describe it as physical maths and logic compared to screen maths and logic.
But most problems seem to be capacitors malfunctioning over time (leaking or swelling), which are simple to replace.