|
Archived: Mike MGarcia's Games Development BlogA hobbyist Mobile/PC/Android/Console game development blogBlog | About | Contact |
Nintendo 3DS game development blog 003 - Simple 3D World Design
28 Sep 2018 In: 3DS #Nindie, GameDev
Nintendo 3DS #Nindie game development blog 003
September: Simple 3D World Design
Nintendo 3DS #Nindie game development blog 003
September: Simple 3D World Design


This is not homebrew, it’s #Nindie
Continuing from my previous post, about 3DS performance testing, I had to do even more performance improvement!
I was mostly flat this month, from a bit of stress :(
On the plus side, I do a short run on the treadmill when I’m at home and anxious.
I’ve also cut back on lunch meal sizes.
I’ve been eating noodles and tuna for most of my lunches instead of take
away or left overs. Easy, portion controlled, cheap and somewhat
healthy I guess.
I lost 5 Kilos :)
I was 77KG and now about 72KG.
Anyway, more about gamedev!
Who is this for?
It’s mostly a commentary about my random and youtube posts.
I’ll try and keep the dev blogs not so wordy and long.
It will be technical but not in great detail.
I guess this blog is mostly for other game developers, programmers and gamers interested in how the console game ’sausage’ is made?
Regardless, it reminds me of the few times I updated my Net Yaroze members site, so so many years ago!
Simple 3D World Design - for me anyway
I’m using Silo 3D which is easy to pick up and I’m exporting to the OBJ format, which is also very easy to parse.
I originally made the parser to read only quads which then applies an
optional textures and an RGB value (both via the material name) EG:
1:255:100:25 (texture 1, R:G:B).
But I can’t model properly without triangles so I made it capable of
importing RGB triangles also (no textures, vector painting hopefully).
The reason why I keep textures only on quads is that my textures are all 64×64 squares samples.
The high level detail layer, is just a polygon soup, with a special
material applied to quads which states it’s texture number and RGB
value.
The layer is 100×100, the importer automatically splits all the polygons
in the layer into 10 x 10 (100) sections, then it’s put into a Chunk
list array of pointers, which is of a grid of 5 × 5 (25) each with a
list of 4 Object pointers, I did this last month.
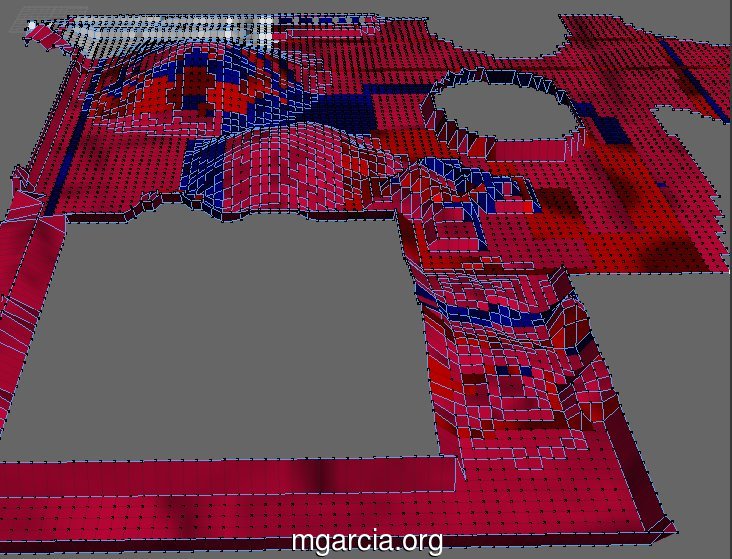
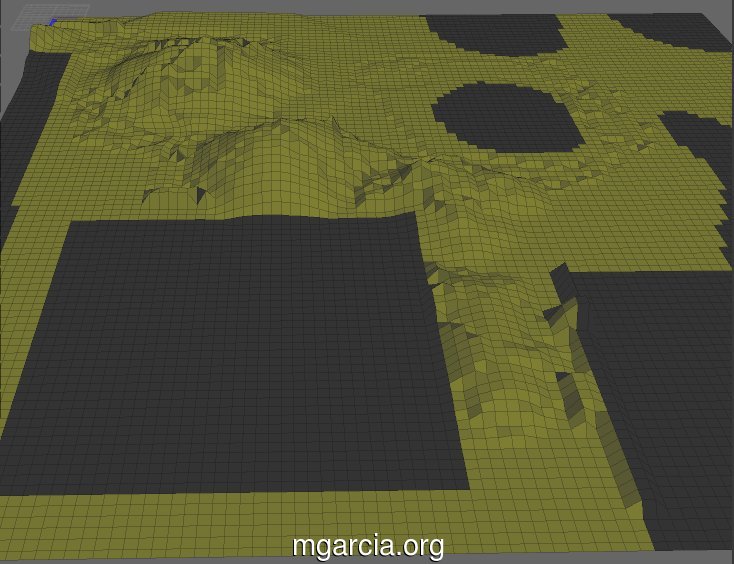
Here it is in Silo 3D, it’s not much to look at, but it’s my test level map:
It increased performance but the major problem was that it still had
to process a large number of triangles that were very far away.
This wasn’t a problem for the GPU, but it really slowed down the CPU when it had to remove non visible (back facing) polygons.
The solution was a lower, Level Of Detail (LOD) layer.
Low Level Of Detail (LOD) layer
This layer is processed the same as the high LOD layer, I actually
used a quick goto statement to loop back to redo the low LOD layer!
This is a perfect scenario for using the goto statement, some would say
that it should be it’s own function, but no, to me it’s more logical in
the loading function.
In game, when doing a visibility test, the function returns the Z value (in camera coordinates), which if it’s greater then X, it uses the low level layer data instead.
//free dynamically allocated arrays for parsing OBJ file
free(mapObjPolyCounter);
free(mapFaces);
// after loading high detail layer, switch to low detail and process it the same way
if( obj_ptr == &Obj_scene)
{
obj_cur_root = &g_objLowLevelGridData;
obj_ptr = &Obj_LevelLow;
goto LOOP; // goto start
}
This is also a polygon soup, obviously with less detail.
Further away chunks being rendered improved performance a lot, so much so I could extend the draw distance considerably!
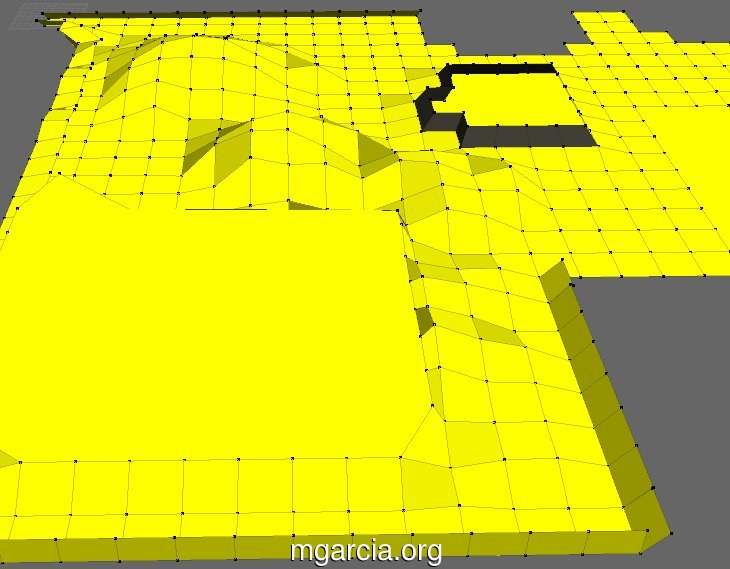
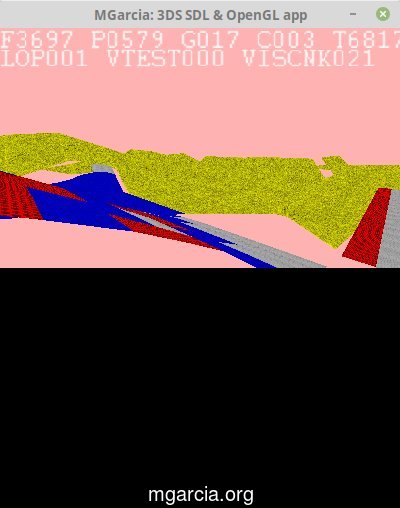
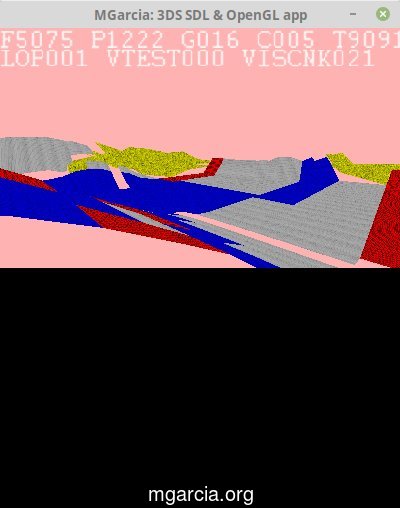
Combination of high LOD and low LOD layers.
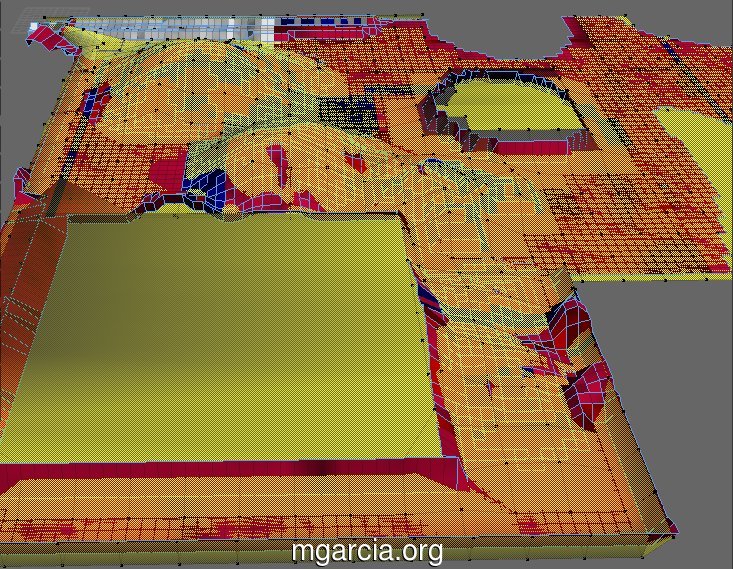
[click to enlarge]
It’s in yellow to see the LOD swapping, left image LOD, right image more high detail is seen.
Height map layer
Lastly is the height layer, this is just a static grid of 100 x 100,
the X & Z coordinates never change only the Y (height) varies as it
contours the high LOD layer.
Also each quad is applied a material which has ground information in the name, EG dirt, road, grass, etc.
I know this is very memory inefficient (10,000 array of 1 float and 1
int), but is very CPU efficient, which is more important, it’s just a
quick look up table array.
I can also average each array position to the quad’s middle, EG:
g_heightMap[curr_X][curr_Z].y = Obj_hightmap.faces[(curr_X*100) + curr_Z].quad[0][1]
+ Obj_hightmap.faces[(curr_X*100) + curr_Z+1].quad[0][1]
+ Obj_hightmap.faces[(curr_X*100) +100 + curr_Z].quad[0][1]
+ Obj_hightmap.faces[(curr_X*100) +100 + curr_Z+1].quad[0][1];g_heightMap[curr_X][curr_Z].y /=4;
This can also be used for level collision detection.
High detail and height layers, not perfect but good enough for my testing.
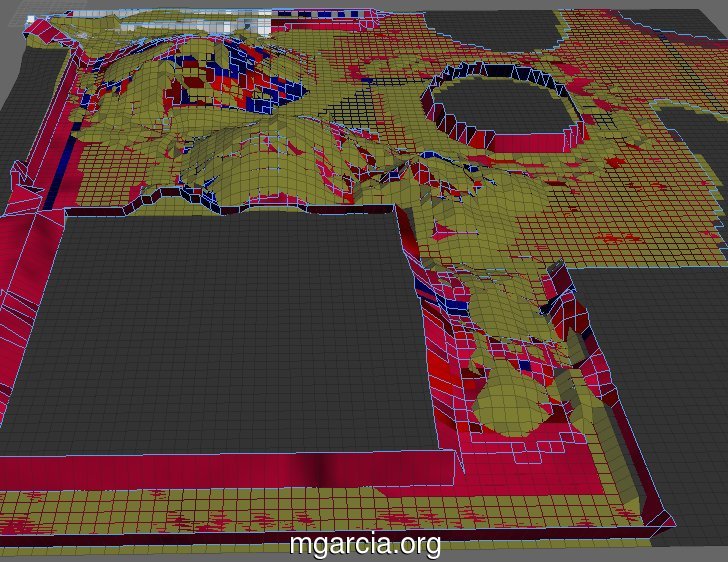
[click to enlarge]
Summary
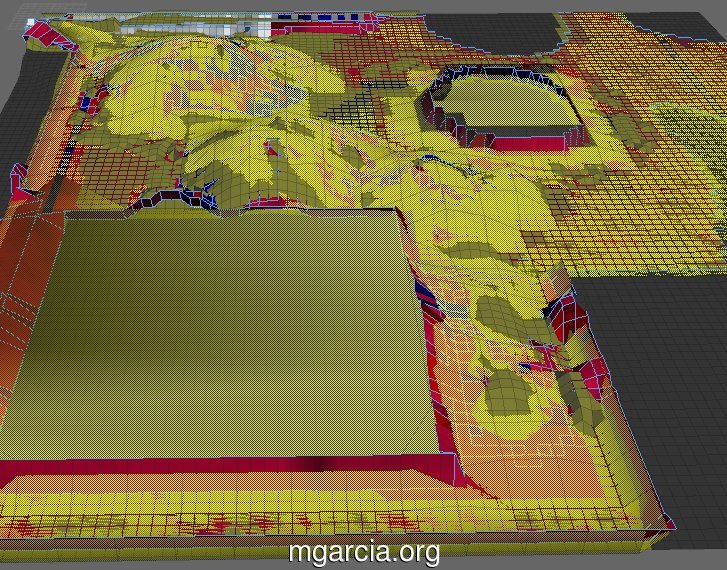
I’m not sure if this is the best way to do a level 3D model, it is a
very labor intensive process, manually editing 3 different layers.
I tried to automatically reduce polygons in fragmotion, blender and MeshLab, but none of them would keep my quads as quads!
All three layers in one, high & low LOD, and height layers
[click to enlarge]
Next month’s todo
Add a car with wheels, so it drives!
Collision detection.
Well, that’s it for another month.
Thanks for reading!
PS: Any questions, comments, feedback or corrections, feel free to leave a comment below.
