|
Archived: Mike MGarcia's Games Development BlogA hobbyist Mobile/PC/Android/Console game development blogBlog | About | Contact |
Shade3D for Unity3D tutorial
3D Modeling, Bone, Skin and Animating
Video of 3D Modeling, Bone, Skin and Animation in Shade3D for Unity
After my first post about Shade3D for Unity, a few people asked me to make a tutorial on Shade3d, so here’s a quick and basic one.
I’m still learning Shade3D, so bear with me.
I’ll eventually upgrade to basic for exporting normals, rendering out and other goodies.
The video has no audio, so below is a walk through of what I’m doing.
At the end of the video I show rendering features and the detachable windows.
Part 1/2
Modeling
Watch the video, you can follow how I make a simple windmill.
Or you can import an object.
Bone
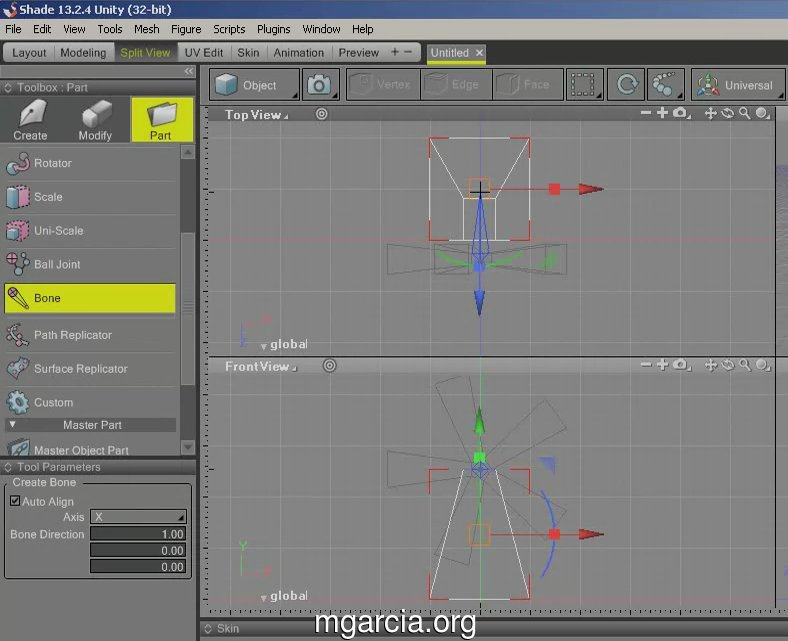
Once the model is finished, know which view is easiest to place the bone, here it’s the top view.
In the toolbox panel, click the “Part” option and “Bone” item.
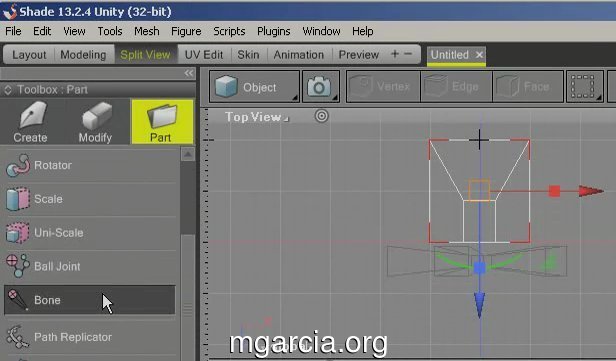
On the top view, click the center of the windmill blades and drag
bone to the center of the windmill base (or visa versa will work).
Skin
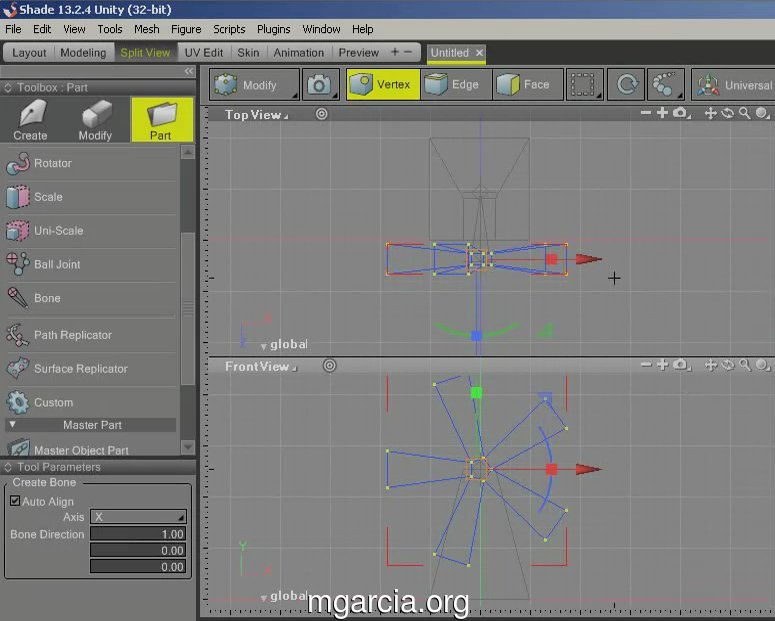
Now the bone is in the correct place we need to tell it which vertices to control.
Select the windmill blade object and select modify mode (next to the camera).
Click the Vertex option and select all vertices (CTRL + A).
In the video I do it the long way using the right click menus only to show what I’m doing.
You should see all the vertices in yellow (selected).
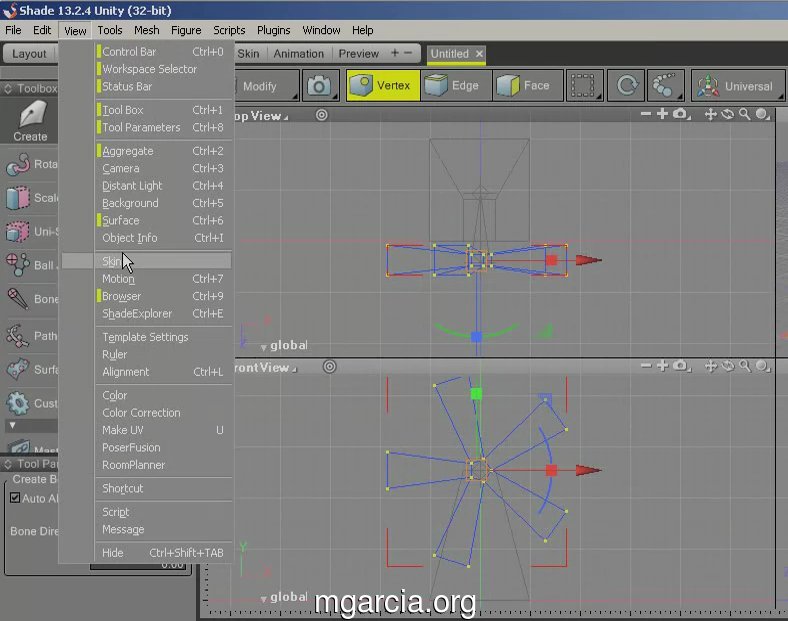
Next, you need the “skin” window, you can click View in the menu and
select Skin or use Skin in the Workspace Bar (with different view
layouts), or you can used the skin predefined window layout.
Click Scope, make sure your bone(s) are ticked.
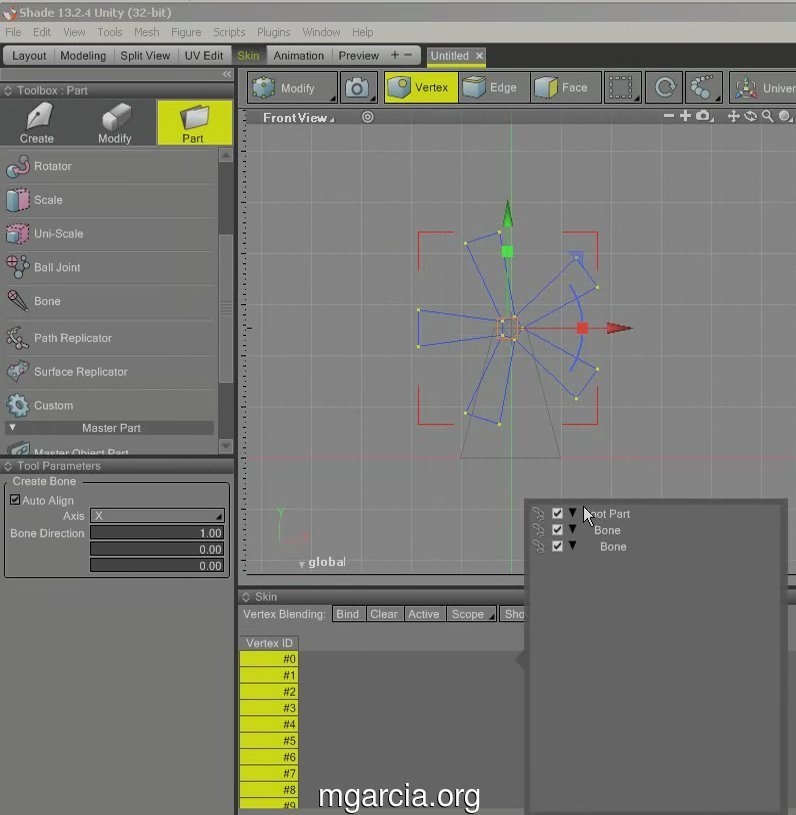
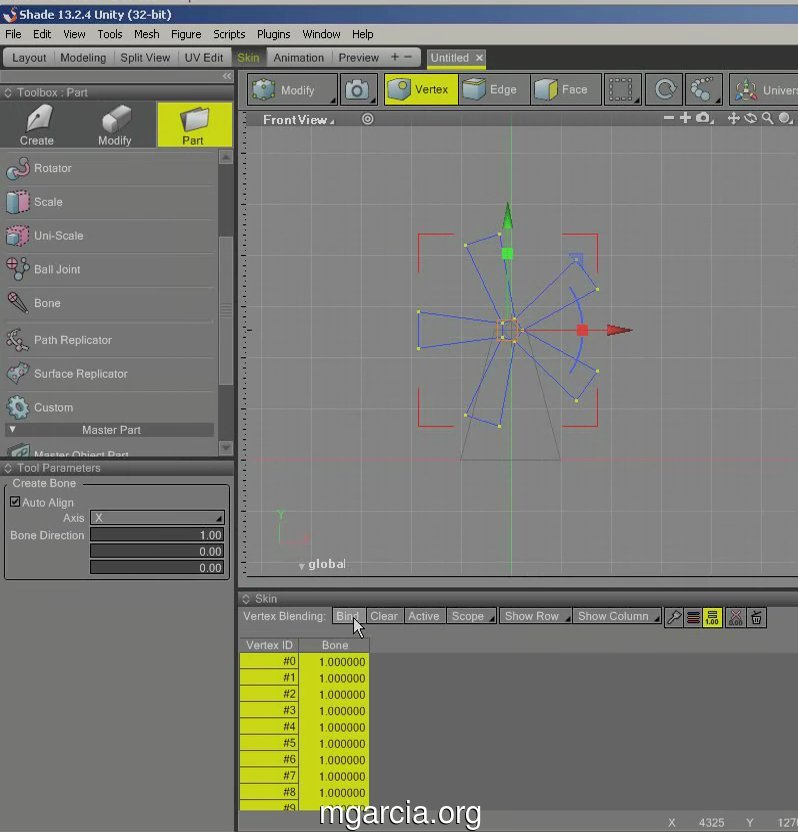
Click out of that pop up window then click “Bind”.
This will bind your select vertices with your selected bone(s).
Continue to animation (Part 2/2).
I’m also using Shade3D as a level editor as well, so next time I’ll blog about that.
Comments now disabled.
For comments or questions, please post on twitter @mgarcia_org.
