|
Archived: Mike MGarcia's Games Development BlogA hobbyist Mobile/PC/Android/Console game development blogBlog | About | Contact |
Part2- Shade3D for Unity3D Quick Tutorial
5 Feb 2014Shade3D for Unity3D tutorial
3D Modeling, Bone, Skin and Animating
Animation: Part 2/2
For animation in Shade3D, you have to be in “Joint” edit mode.
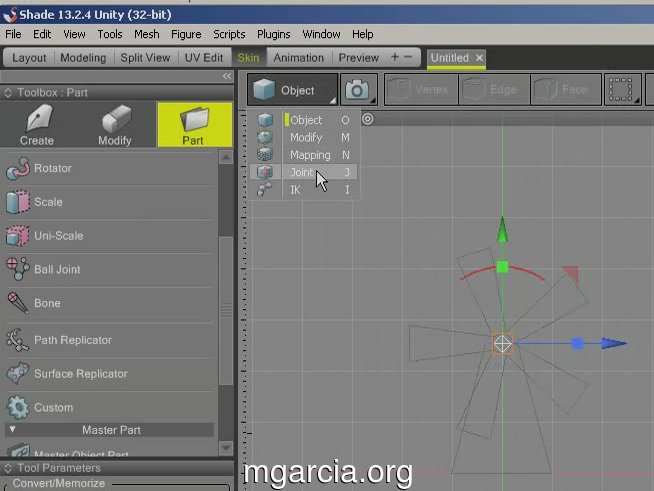
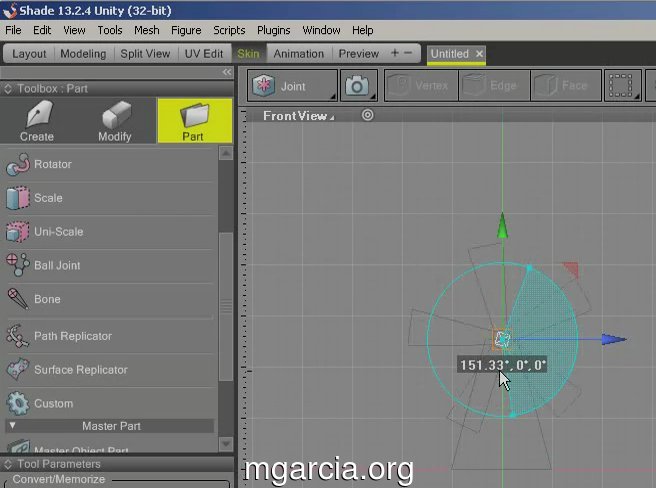
Now clicking on the bone widget (circle XYZ lines) will rotate and move the windmill blades.
Set it to the initial key-frame position, (ie Green (Y) pointing up).
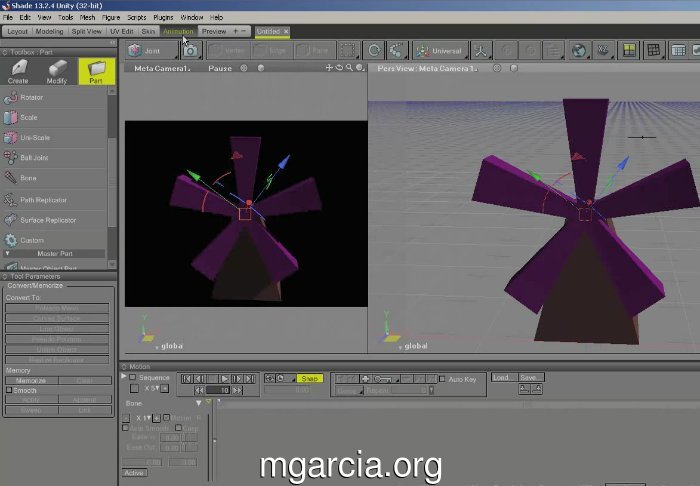
Next, change to the animation layout via the Workspace Bar (with different view layouts).
You can see the motion window at the bottom.
We can now create the first key frame.
Click the + (plus button) next to the key menu button.
This creates the key-frames for the bone(s) that have moved.
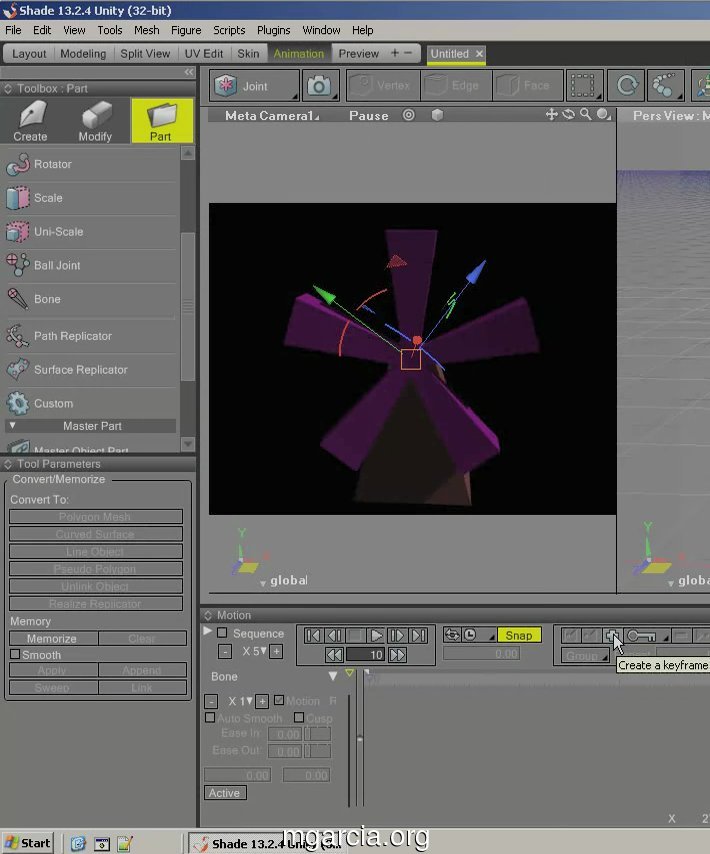
You will see two dots in the time-line.
Now, move the yellow arrow pointing down on the time line, this is called “Sequence cursor”.
Move it to your next key-frame time, ie +10 spaces.
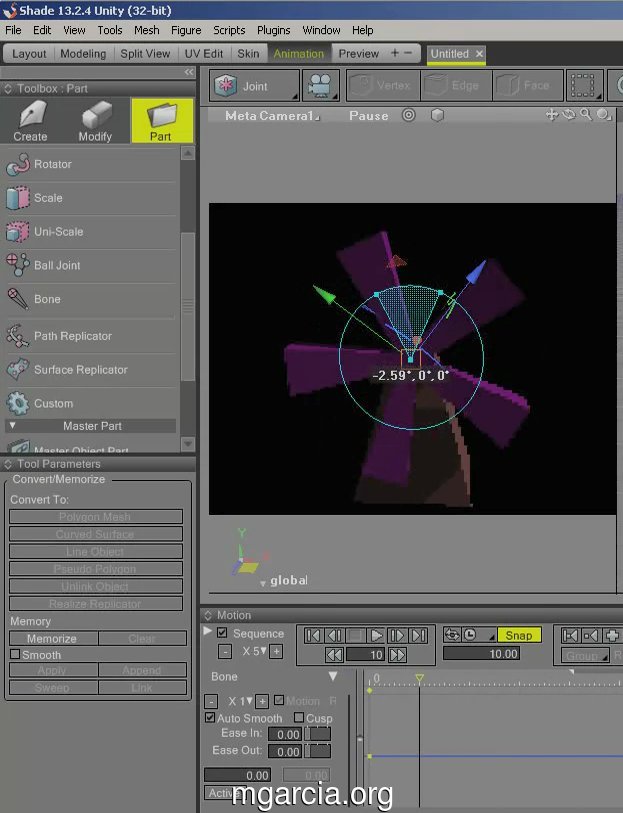
Now rotate the Green (Y) widget down to the right, stopping at 45 degree.
Again, click the + (plus button) to add key-frames.
If you scroll the Sequence cursor back and forth, you will see the windmill blades rotate.
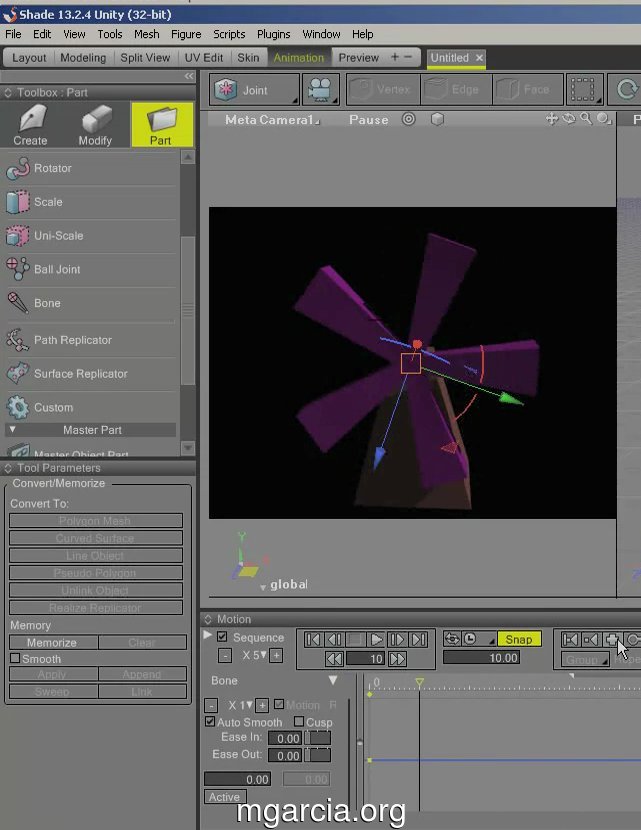
Continue this process for every 45 degree.
When you are finished you can set the time-line end by moving the marker above the Sequence cursor.
Now click the repeat button as shown and click the play button.
It will loop the animation.

You can also move key-frames while it plays, this helps you see how it looks.
That’s it! Now it’s ready for exporting as FBX and into your game engine of choice!
If you have any questions about Shade3D Modeling, bone, skinning, animation, let me know in the comments.
Or on twitter @mgarcia.


